Configuring the Plugin
This tutorial will guide you through configuring the OnlineSubsystemEOS in your project's DefaultEngine.ini file to work with Epic Online Services.
Prerequisites
- EOSCore Lite plugin installed and enabled
- Epic Online Services application created in the Epic Games Developer Portal
- Your EOS Product ID, Sandbox ID, Deployment ID, and Client credentials
Locating DefaultEngine.ini
Step 1: Find Your Project's Config Folder
- Navigate to your Unreal Engine project directory
- Open the Config folder
- Locate the DefaultEngine.ini file
File path: YourProject/Config/DefaultEngine.ini
Step 2: Backup Your Configuration
- Create a copy of DefaultEngine.ini before making changes
- Name it something like DefaultEngine_backup.ini
- This allows you to restore the original configuration if needed
Basic OnlineSubsystemEOS Configuration
Step 3: Add Online Subsystem Settings
Open DefaultEngine.ini in a text editor and add the following sections:
[OnlineSubsystem]
DefaultPlatformService=EOS

[OnlineSubsystemEOS]
bEnabled=true

[/Script/OnlineSubsystemEOS.EOSSettings]
CacheDir=CacheDir
DefaultArtifactName=Client
TickBudgetInMilliseconds=0
bEnableOverlay=true
bEnableSocialOverlay=true
bEnableEditorOverlay=true
bShouldEnforceBeingLaunchedByEGS=false
TitleStorageReadChunkLength=0
+Artifacts=(ArtifactName="Client",ClientId="your_client_id_here",ClientSecret="your_client_secret_here",ProductId="your_product_id_here",SandboxId="your_sandbox_id_here",DeploymentId="your_deployment_id_here",EncryptionKey="")
Step 4: Replace Placeholder Values
Replace the following placeholder values with your actual EOS credentials:
your_client_id_here- Your application's Client ID from EOS Developer Portalyour_client_secret_here- Your application's Client Secret from EOS Developer Portalyour_product_id_here- Your EOS Product IDyour_sandbox_id_here- Your EOS Sandbox IDyour_deployment_id_here- Your EOS Deployment ID
Advanced Configuration Options
Step 5: Optional Advanced Settings
You can customize additional settings based on your needs:
[/Script/OnlineSubsystemEOS.EOSSettings]
# Cache and Performance
CacheDir=CacheDir
TickBudgetInMilliseconds=0
TitleStorageReadChunkLength=0

# Overlay Settings
bEnableOverlay=true
bEnableSocialOverlay=true
bEnableEditorOverlay=true

# Launch Requirements
bShouldEnforceBeingLaunchedByEGS=false

# Platform-specific settings
bUseEAS=true
bUseEOSConnect=true
bMirrorStatsToEOS=true
bMirrorAchievementsToEOS=true
bMirrorPresenceToEAS=true
Configuration Options Explained:
bEnableOverlay- Enables the EOS overlay interfacebEnableSocialOverlay- Enables social features in overlaybEnableEditorOverlay- Allows overlay to work in editorbShouldEnforceBeingLaunchedByEGS- Requires launch through Epic Games StorebUseEAS- Use Epic Account Services for authenticationbUseEOSConnect- Use EOS Connect for cross-platform featuresbMirrorStatsToEOS- Synchronize stats with EOS backendbMirrorAchievementsToEOS- Synchronize achievements with EOSbMirrorPresenceToEAS- Show presence status through Epic Account Services
Verification and Testing
Step 8: Verify Configuration
- Save the DefaultEngine.ini file
- Close and reopen Unreal Engine
- Open your project
- Check the Output Log for any EOS-related errors
- Look for successful EOS initialization messages
Example Complete Configuration
Here's a complete example DefaultEngine.ini section:
[OnlineSubsystem]
DefaultPlatformService=EOS

[OnlineSubsystemEOS]
bEnabled=true

[/Script/OnlineSubsystemEOS.EOSSettings]
CacheDir=CacheDir
DefaultArtifactName=Client
TickBudgetInMilliseconds=0
bEnableOverlay=true
bEnableSocialOverlay=true
bEnableEditorOverlay=true
bShouldEnforceBeingLaunchedByEGS=false
bUseEAS=true
bUseEOSConnect=true
bMirrorStatsToEOS=true
bMirrorAchievementsToEOS=true
bMirrorPresenceToEAS=true
TitleStorageReadChunkLength=0
+Artifacts=(ArtifactName="Client",ClientId="xyz123...",ClientSecret="abc456...",ProductId="1234567890abcdef1234567890abcdef",SandboxId="1234567890abcdef1234567890abcdef12345678",DeploymentId="1234567890abcdef1234567890abcdef12345678",EncryptionKey="")
Project Settings
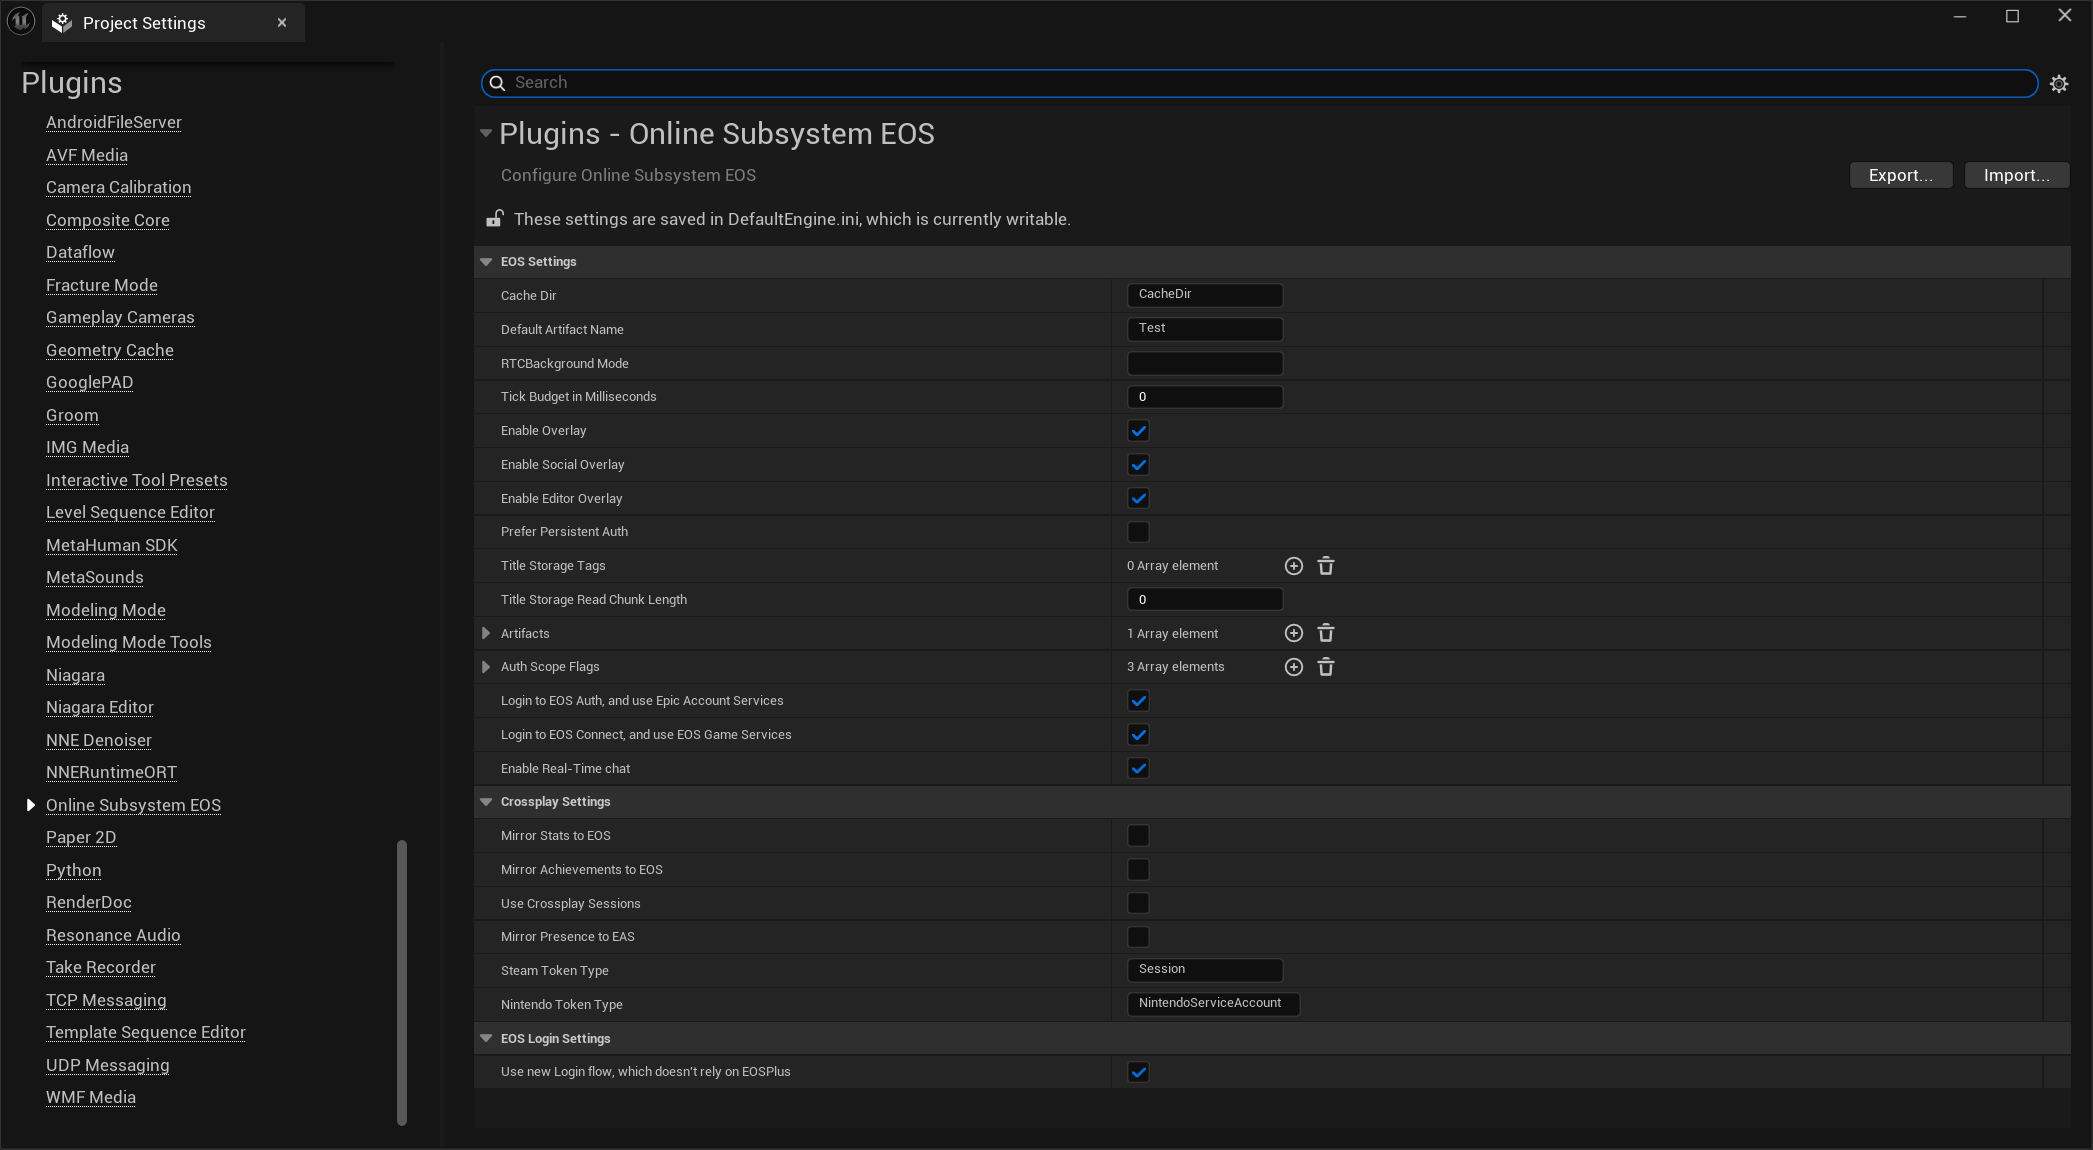
Additional settings can be found in Project Settings > Online Subsystem EOS

Security Notes
- Never commit your actual Client Secret to version control
- Keep your EOS credentials secure and don't share them publicly
- Use different Sandbox IDs for development, testing, and production environments
Next Steps
After configuring OnlineSubsystemEOS:
- Test authentication and login flows